Content
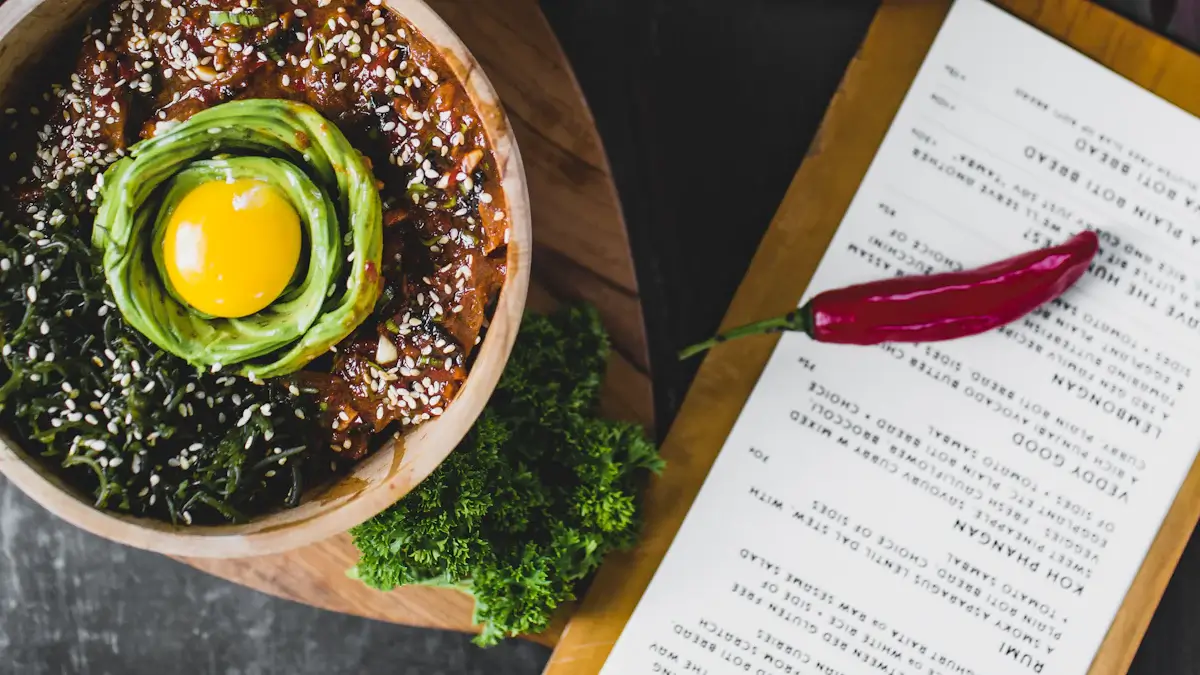
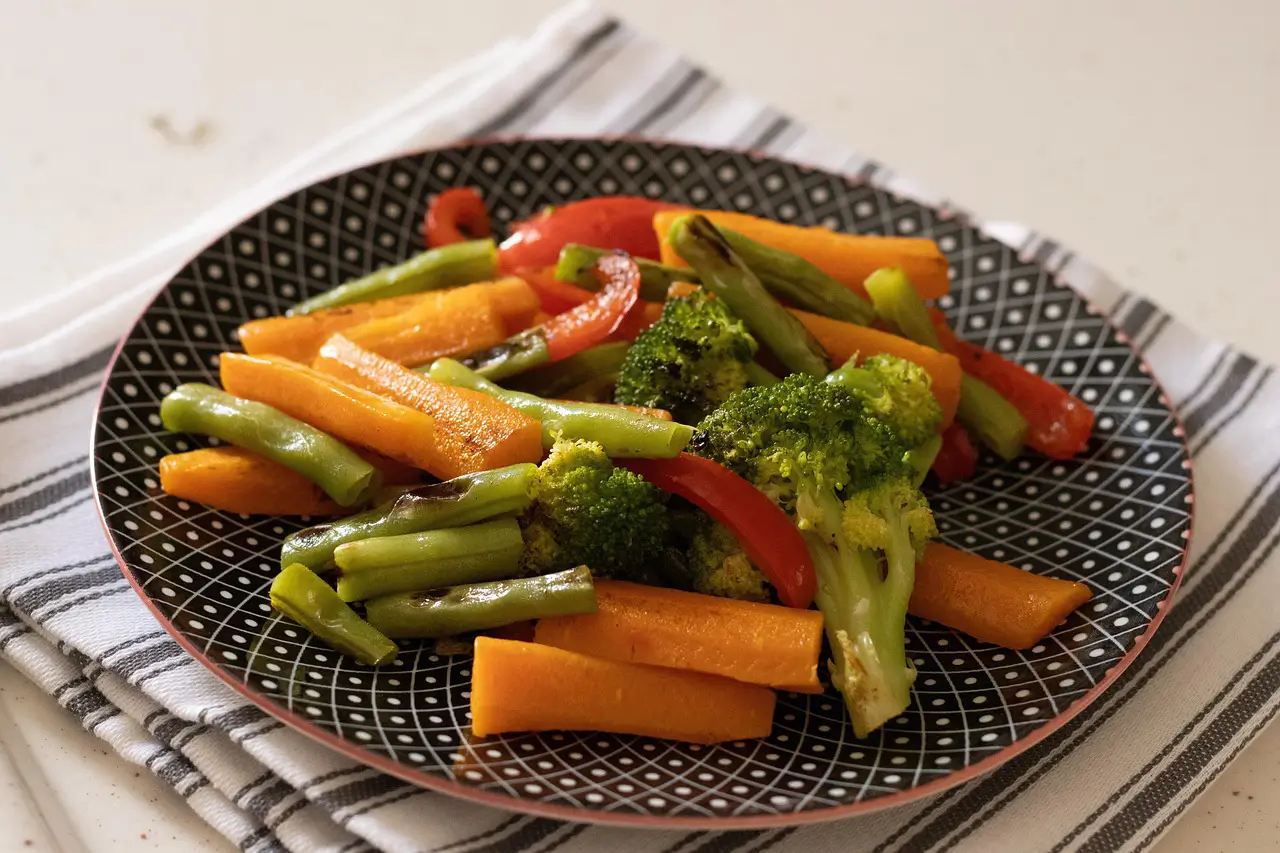
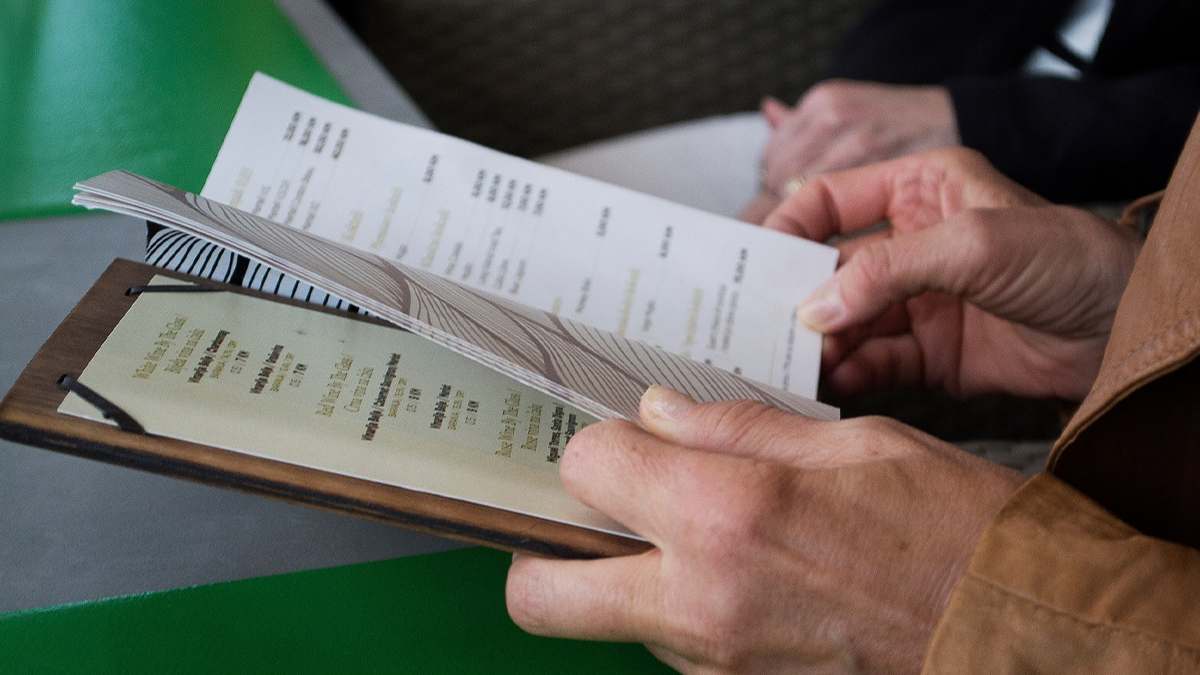
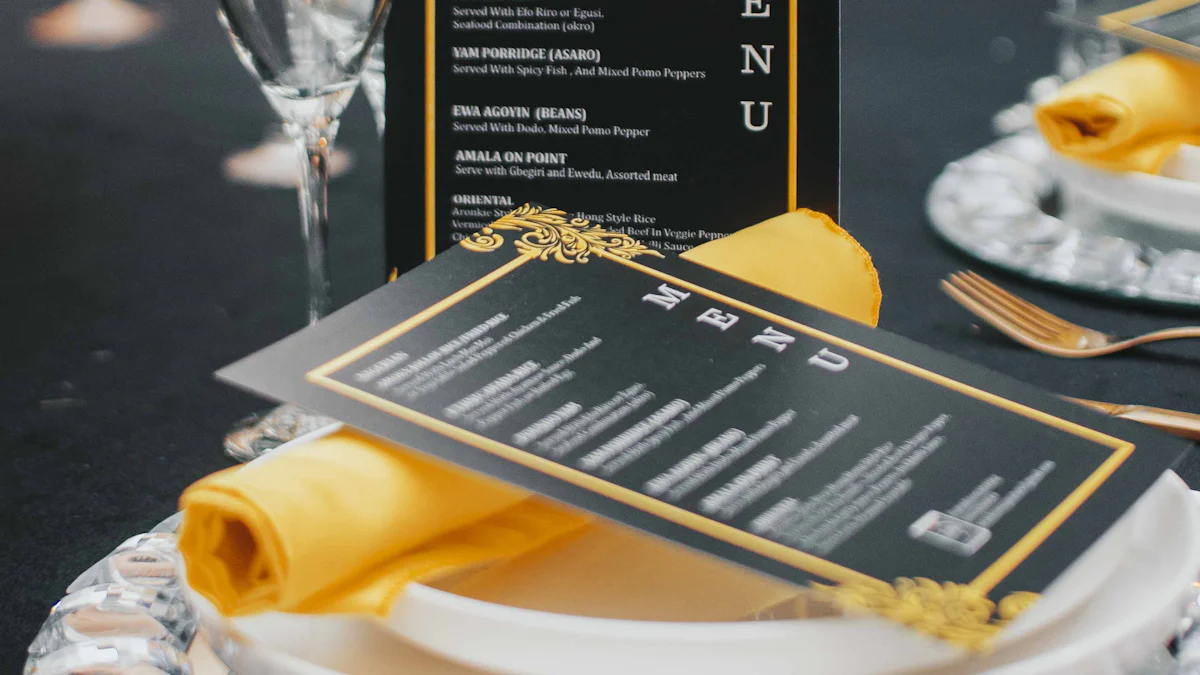
Have you ever chosen food because the food photography looked amazing? That’s how powerful good food photos can be! Clear, sharp food photography doesn’t just enhance menus—it can boost sales by 30%. When people see bright, appetizing food photography, they feel confident about what to order. It excites and delights them, enhancing their meal experience. A great photo doesn’t just display food in menu design, it also tells a story that draws people in and encourages them to come back for more.
Summary
Great food photos can increase menu sales by 30%. Use clear, tasty-looking pictures to draw in customers.
Natural light is key for food photos. Take pictures in the morning or late afternoon for the best lighting.
Keep your setup simple. Follow the rule of thirds and avoid messy backgrounds so the food stands out.
Try different angles to show off your dish. Various views can show textures and layers well.
Add people in your pictures. Hands with food make the photo feel warm and welcoming.
Preparation for Food Photography
Creating stunning food photography starts with preparation. You don’t need a professional studio to get amazing results—just the right tools, a well-thought-out scene, and a touch of creativity.
Gather the Right Tools
The tools you use can make or break your photos. Start with plain, light-colored dishes. These let the food shine without competing for attention. A high-resolution camera or a smartphone with advanced features works perfectly. If you’re using a smartphone, try experimenting with lenses or filters to elevate your shots.
A tripod is a must-have. It stabilizes your camera, prevents blurry images, and frees your hands to adjust the food or props. You can also use a spray bottle to add a fresh, dewy look to your dishes or twinkle lights for a cozy background. Keep items like parchment paper, miniature bowls, and whole spices handy—they’re great for adding texture and detail to your shots.
Set Up the Scene
The right setting can transform your food photography. Choose a spot with bright, natural light. A window with soft sunlight is ideal. Avoid harsh direct light, as it can create unflattering shadows. For the background, stick to plain, dark-colored surfaces or complementary tones. These enhance the food’s colors and textures without stealing the spotlight.
Before you start shooting, clean the dish and arrange the food neatly in the center. Don’t let the food sit too long—it looks best when it’s fresh. Add a few imperfections, like a crumb or a drip of sauce, to make the scene feel more natural and inviting.
Styling and Props
Styling is where you can get creative. Garnishes like fresh herbs, edible flowers, or a drizzle of sauce can elevate your dish. They should enhance the food, not overpower it. For example, a sprinkle of chopped parsley on pasta adds color and ties the presentation together.
Props help set the mood. Use tablecloths, cutlery, or artisanal items to create a story around your dish. Wooden boards, linen napkins, or vintage plates add texture and authenticity. Keep the props simple and ensure they complement the food. Too many props can distract from the main subject.
Pro Tip: Pre-chop garnishes and keep them ready. This saves time and ensures your food looks fresh when it’s time to shoot.
By preparing thoughtfully, you’ll set the stage for food photography that’s not just beautiful but also mouthwatering.
Mastering Lighting for Food Photography
Lighting can make or break your food photography. It’s the secret ingredient that brings out the vibrant colors and textures of your dishes. Let’s explore how you can master it.
Importance of Natural Light
Natural light is your best friend when photographing food. Sunlight highlights the rich colors and intricate textures of your dishes, making them look fresh and appetizing. But not all sunlight is created equal. Harsh, direct sunlight can create unflattering shadows and wash out your food’s details.
To avoid this, try these tips:
Use soft, filtered light by placing a diffuser or a white sheet over your light source.
Position taller items away from shorter ones to prevent shadows from blocking the food.
Eliminate extra light sources to avoid mixed hues or unwanted shadows.
On cloudy days, take advantage of the even lighting for a softer, more balanced look.
These small adjustments can make a big difference in how your photos turn out.
Best Times for Photography
Timing is everything when it comes to natural light. The best times to shoot are in the morning before 10 a.m. or in the late afternoon after 3 p.m. Why? During these hours, the sunlight is softer and more diffused. This creates depth and dimension in your photos, making the food look more appealing. It also adds a warm, inviting atmosphere to your shots. If you’ve ever noticed how magical the light feels during these times, you’ll understand why they’re perfect for food photography.
Avoid Flash
Using flash might seem like a quick fix, but it often does more harm than good. Flash flattens your dish, removing the natural shadows that give it character. It’s also tricky to master. You can’t see how the light will affect your photo until after you’ve taken it, which makes it harder to get the perfect shot. For beginners, this steep learning curve can be frustrating. Stick to natural light—it’s simpler and delivers better results.
By mastering lighting, you’ll elevate your food photography to the next level. Your dishes will look vibrant, fresh, and absolutely irresistible.
Composition and Angles in Food Photography

Composition and angles are key to amazing food photos. They help show off the dish’s best parts and tell a story. Let’s learn how to use them well.
Try the Rule of Thirds
The rule of thirds is easy and makes photos better. Turn on gridlines on your camera or phone. These lines split the frame into nine squares. Place your main food item along the lines or where they meet. This makes the photo look balanced and draws attention to the food.
Why it works:
It adds depth, making photos more interesting.
It balances the picture so no part feels too crowded.
It guides the viewer’s eyes naturally through the image.
For top-down shots, like salads or snack boards, use this rule to arrange items neatly. It makes the photo look stylish and eye-catching.
Play with Angles
Angles can change how food looks in photos. A top-down view is great for flat foods like pizzas or cookies. For tall foods, like burgers or cakes, a side view shows their height and layers.
Here’s a quick angle guide:
Angle Type | Best For | Description |
|---|---|---|
Flat-lay | Salads, pizzas, donuts | Great for flat foods, but add volume to avoid dullness. |
Straight-on (0°) | Burgers, layer cakes | Shows height and detailed layers. |
45° angle | Bowls of soup, plated dishes | Combines surface and side views for a natural look. |
Test different angles to see what looks best. Don’t be afraid to try new ideas!
Keep It Simple
Simple photos often look the best. Avoid busy backgrounds or too many props. Let the food be the star. Empty space around the food, called negative space, keeps the photo clean and neat.
A simple setup makes the food stand out. It also shows off textures and details, making the dish look tastier. Remember, less is more when taking food photos.
Pro Tip: Look at professional food photos to see how they use composition and angles. Practice often to get better.
By learning composition and angles, your food photos will look amazing and grab attention.
Technical Tips for High-Quality Food Photography
Camera Settings
Setting your camera correctly is key for clear food photos. If you use a DSLR or mirrorless camera, switch to manual mode. This gives you full control and better results. Focus on these settings:
Aperture: Choose f/11 for sharp food and balanced focus.
ISO: Keep ISO low (100-200) to avoid grainy pictures.
Shutter Speed: Use fast speed for still food. Slow speed can blur moving food.
White Balance: Correct colors make food look tasty. Adjust Kelvin settings or use custom white balance. For cloudy days, set it to 7500K for soft light.
White Balance Setting | Description |
|---|---|
Cloudy Day | 7500K; soft, even lighting. |
Tungsten Light | 3200K; warm tones, may need tweaking. |
Custom White Balance | Use a white card for exact colors. |
Smartphone Features
Smartphones can take great food photos too. You don’t need a fancy camera. Use these features to improve your shots:
Portrait Mode: Focuses on the food and blurs the background. It makes the dish stand out.
Avoid Digital Zoom: Move closer instead of zooming. Zooming lowers photo quality.
Lighting Adjustments: Tap the screen to brighten or darken the image. This keeps food looking fresh and colorful.
Pro Tip: Try your phone’s manual settings. Many phones now let you adjust ISO, shutter speed, and white balance.
Editing and Post-Processing
Editing makes your food photos look even better. Even good photos can improve with small edits. Here’s how to enhance them:
Use Free Editing Apps: Apps like Snapseed, Lightroom CC, and VSCO help fix lighting, color, and sharpness. Snapseed also has tools for detailed edits.
Focus Stacking: Combine photos with different focus points. This makes close-up shots sharp and detailed.
Enhance Colors: Slightly boost saturation to make food look fresh. Don’t overdo it, or it might look fake.
Focus stacking is great for close-ups. It blends photos to show every detail clearly.
By using these tips, your food photos will look amazing. Whether you use a camera or smartphone, these tricks will help you capture delicious-looking shots every time.
Special Tips for Different Food Types
Each dish is unique, and showing that in photos takes effort. Whether it’s stuffed foods, mixed plates, or baked treats, these tips will help you highlight their best parts.
Foods with Fillings
Stuffed foods like tacos, pastries, or sandwiches look great when their insides are shown. Cutting them open reveals the tasty layers inside.
Cut sandwiches or pastries neatly to display their fillings. Use a sharp knife to keep it clean.
Arrange the pieces creatively. Stack them or fan them out for a cool look.
Pro Tip: Add a garnish or drizzle sauce near the cut area. This makes the filling stand out and look more delicious.
Mixed Plates
Mixed plates can be hard to photograph because they have many items. The trick is to make everything look tidy and balanced.
Here’s how to style them:
Combine textures like creamy sauces, crunchy veggies, and smooth mashed potatoes.
Keep portions balanced. Don’t overcrowd the plate or leave too much space.
Pick the right plate. A medium, plain-colored plate works best.
Place the main food slightly off-center to draw attention.
Add height by stacking or layering food for a 3D effect.
Use fresh herbs or flowers as garnish for a splash of color.
Drizzle sauces neatly around the plate instead of pouring over the food.
Tip: Use small bowls for sides like rice or dips. This keeps the plate neat and organized.
Baked Goods and Drinks
Baked treats and drinks have special textures that deserve attention. Here’s how to make them look amazing:
Baked Goods
Slice cakes, pies, or bread to show their layers. Clean cuts reveal fluffy or gooey textures.
Use soft light to highlight details. Side lighting works well for crumbly or melty surfaces.
Sprinkle flour or sugar around pastries for a homemade feel.
Technique | What It Does |
|---|---|
Contrasting Backgrounds | Textured surfaces like wood or cloth make baked goods stand out. |
Lighting Techniques | Side lighting shows textures and adds depth. |
Styling Tips | Add props like coffee cups or forks for a cozy, inviting vibe. |
Drinks
Photographing drinks can be tricky because of reflections and liquid textures. Try these tips:
Use soft light to avoid harsh reflections on glass.
Add garnishes like mint, lemon slices, or colorful straws for extra appeal.
For iced drinks, use fresh ice cubes and take photos quickly before they melt.
Shoot flat drinks from above and layered drinks, like lattes, at eye level.
Pro Tip: For frothy drinks, take the photo right after pouring to capture the foam at its best.
By adjusting your approach for each food type, you’ll create photos that look great and tell a story about the dish.
Adding a Human Touch to Food Photography
Adding a human element to your food photos can make them feel warm and inviting. It’s a simple way to create a connection with your audience and tell a story that goes beyond the plate.
Include People in Photos
Show hands holding or interacting with the food
Hands in food photography can bring your images to life. They add a sense of action and make the viewer feel like they’re part of the moment. Imagine a hand pouring syrup over a stack of pancakes or holding a steaming cup of coffee. These small touches make your photos feel real and relatable.
You don’t need to show an entire person. A partially visible hand or a hand holding a fork can do the trick. It suggests someone is enjoying the food, which makes the image more engaging. You can also scatter a few ingredients or place a half-empty glass nearby. These details create a sense of motion and make the scene feel alive.
Tip: Keep the hands clean and natural. Avoid overly posed or stiff gestures. The goal is to make the photo feel effortless and authentic.
Create a relatable and engaging visual story
Food is more than just something to eat—it’s an experience. Including people in your photos helps you capture that experience. Show someone slicing into a cake or reaching for a cookie. These actions make your photos feel dynamic and full of life.
Adding personal touches also makes it easier for viewers to connect with your image. A hand holding silverware or a drizzle of sauce being poured adds realism. It feels like a moment they could experience themselves. This approach not only highlights the food but also the joy of eating and sharing it.
Pro Tip: Use soft, natural light to keep the focus on the food and the action. Harsh lighting can distract from the story you’re trying to tell.
By including people in your food photography, you’ll create images that are not just beautiful but also meaningful. They’ll invite viewers to imagine themselves in the scene, making your photos unforgettable.
FAQ
How can I make my food photos look more professional?
Use natural light and a tripod for stability. Keep your composition simple and focus on the food. Experiment with angles and use the rule of thirds for balance. Edit your photos to enhance colors and sharpness.
What should I do if I don’t have a high-resolution camera?
Your smartphone can work wonders! Use portrait mode for depth and avoid digital zoom. Get close to your subject instead. Adjust lighting settings and use free editing apps to enhance your photos.
Why is natural light better than flash for food photography?
Natural light highlights colors and textures, making food look fresh and appetizing. Flash can flatten images and create harsh shadows. Soft, natural light adds depth and warmth to your photos.
How do I choose the right props for my food photos?
Select props that complement your dish without overpowering it. Use simple items like wooden boards, linen napkins, or vintage plates. Keep the focus on the food and ensure props add to the story you’re telling.
Can I use filters on my food photos?
Yes, but use them sparingly. Filters can enhance colors and mood, but too much can make food look unnatural. Stick to subtle adjustments that highlight the dish’s natural beauty.


